Wednesday, March 6, 2013

The Two Tone Process, Part II: Main Shade Painting

Now I move on to the main color.  Some people call this highlighting, and sometimes I do too, but it's not really.  On rare occasions I will apply an actual highlight of a third color, but these shades do not really need that.

First the uniform coat gets a main shade of fairly bright green.


Then I use a straight red.


I do not use a straight white, but Oyster White, which has a slight cream tone.


I mixed my own main color for the blanket rolls.  It is about one part Dark Chocolate (my shade color) to two parts Territorial Beige.


The flesh comes nearly last.  This is Delta's Medium Flesh.


The leather work gets a main shade of autumn brown.


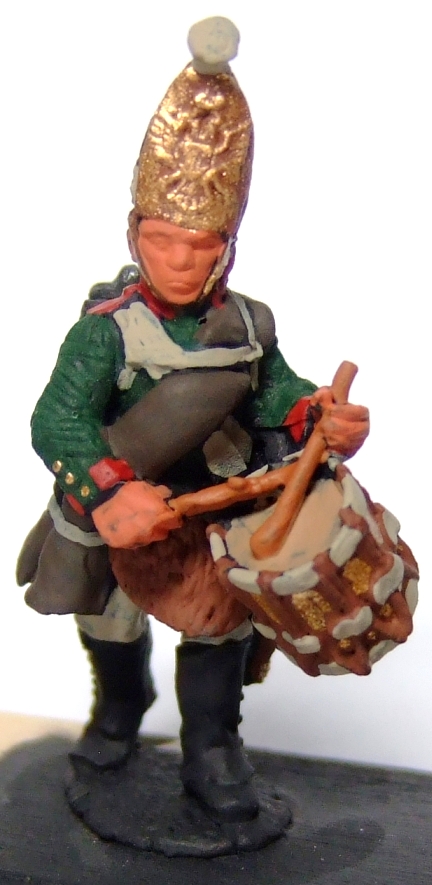
Here is the drum in the shade colors.


Below the drum head gets a highlight of Latte.


Finally the drum sticks get a main tone of Toffee Brown.


Here are the finished figures.  Compare these with the previous post.  These figures should "pop" off the table.  By starting with the shade tone and building the main shade above it, I can accentuate the natural relief of the figures.


I started painting this eight man unit today.  I probably put in four hours in painting these, and that includes time spent photographing and blogging.

The Two Tone Process, Part I: Block Shade Painting

Here is a little peek inside my process.  These Pavlov grenadiers have received their basic paint job, and they do not look like much yet.  I start by painting the entire figure in my shade colors, just blocking them in.


The figures look very dark, and they are meant to look dark!  Most of this initial coat will get covered by brighter tones in the next step.


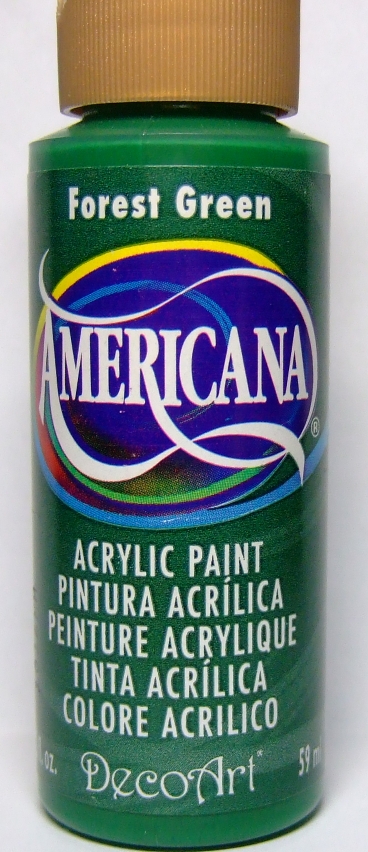
Here are the paints that I used for this first step.  All are craft paints except for one cheap enamel: Testor's gold.


Monday, March 4, 2013

28mm 1812 Russian Cuirassiers

Although the blog has been quiet recently, I have been very busy!  I agreed to paint another army for Glenn, this time for Commands and Colors Napoleonics.  I am tackling the Russian army from 1812-4, and I have started with the cavalry.

The Russian cavalry was definitely colorful, and it performed very well in the later Napoleonic Wars.  Glenn has purchased some beautiful figures, and I am definitely having fun with this commission.

Here are Glenn's six regiments of cuirassiers, all Perry Miniatures figures.  I trust that readers will know Perry's high reputation.  These are some of the most beautiful Napoleonic sculpts I have ever seen.  Many of the riders are cast with their horses, and the sculptor has provided separate sword arms.


Astrakan Cuirassiers


Emperor's Cuirassiers


Empress's Cuirassiers


Little Russia Cuirassiers


Military Order Cuirassiers


Novgorod Cuirassiers


I should have some more photos up over the next few days.

Monday, February 18, 2013

Eureka 28mm WFR French Line

This morning I put the finishing touches on another French line infantry battalion from Eureka's outstanding Wars of the French Revolution range.  This is the second battalion of 6th demi-brigade.


This is the first time I have used a flag from my new French Infantry Flags book, and I like the way it looks.  I scanned the image, copied it into my word processor, and resized it there.


I had bought a set of 6th demi-brigade flags from GMB, but I mislaid one of them.  Here is the GMB flag on the left and the home printed flag on the right.  The GMB flag is much nicer, of course, and well worth the $2.50 that it costs.

But for flags that GMB does not make, these home made flags will do very well.  I have been building my armies for the 1796-1800 campaigns in Italy.  The only French flags that GMB makes for the 1794 design are those carried in Egypt.  If I want to use the flags of units actually in Italy  (like the 26th DB, shown below), I will have to make my own flags.